Integrate with Square in 3 Easy Steps:
Integrate with Square to streamline appointment management and offer personalized caller experience. In just 3 steps you can connect to Square and be ready to take personalization to the next level.
1. Choose to Connect to Square
New users will see a Square Modal that explains the value of integrating with square.
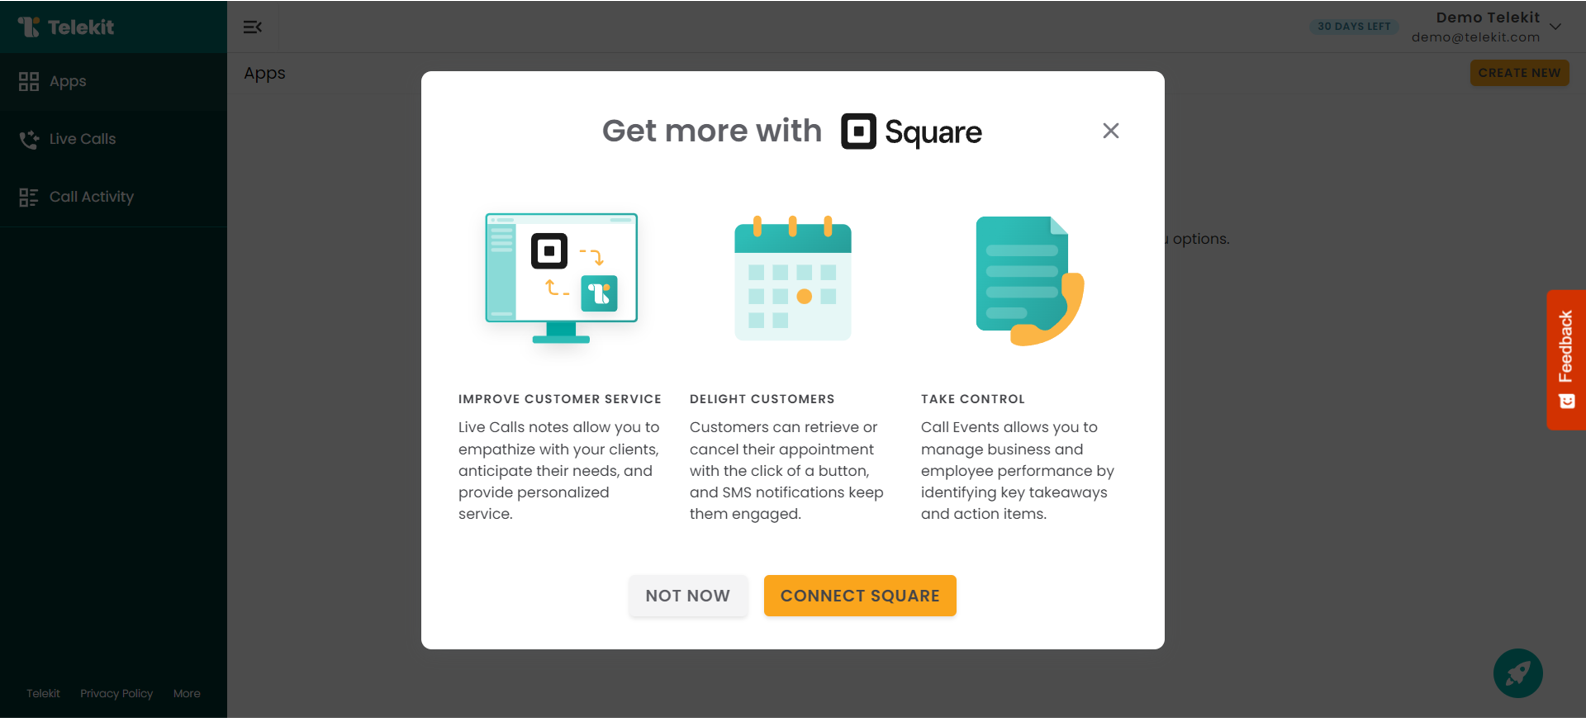
You can also choose to connect to Square any time through Telekit's Settings modal under the Integrations section.
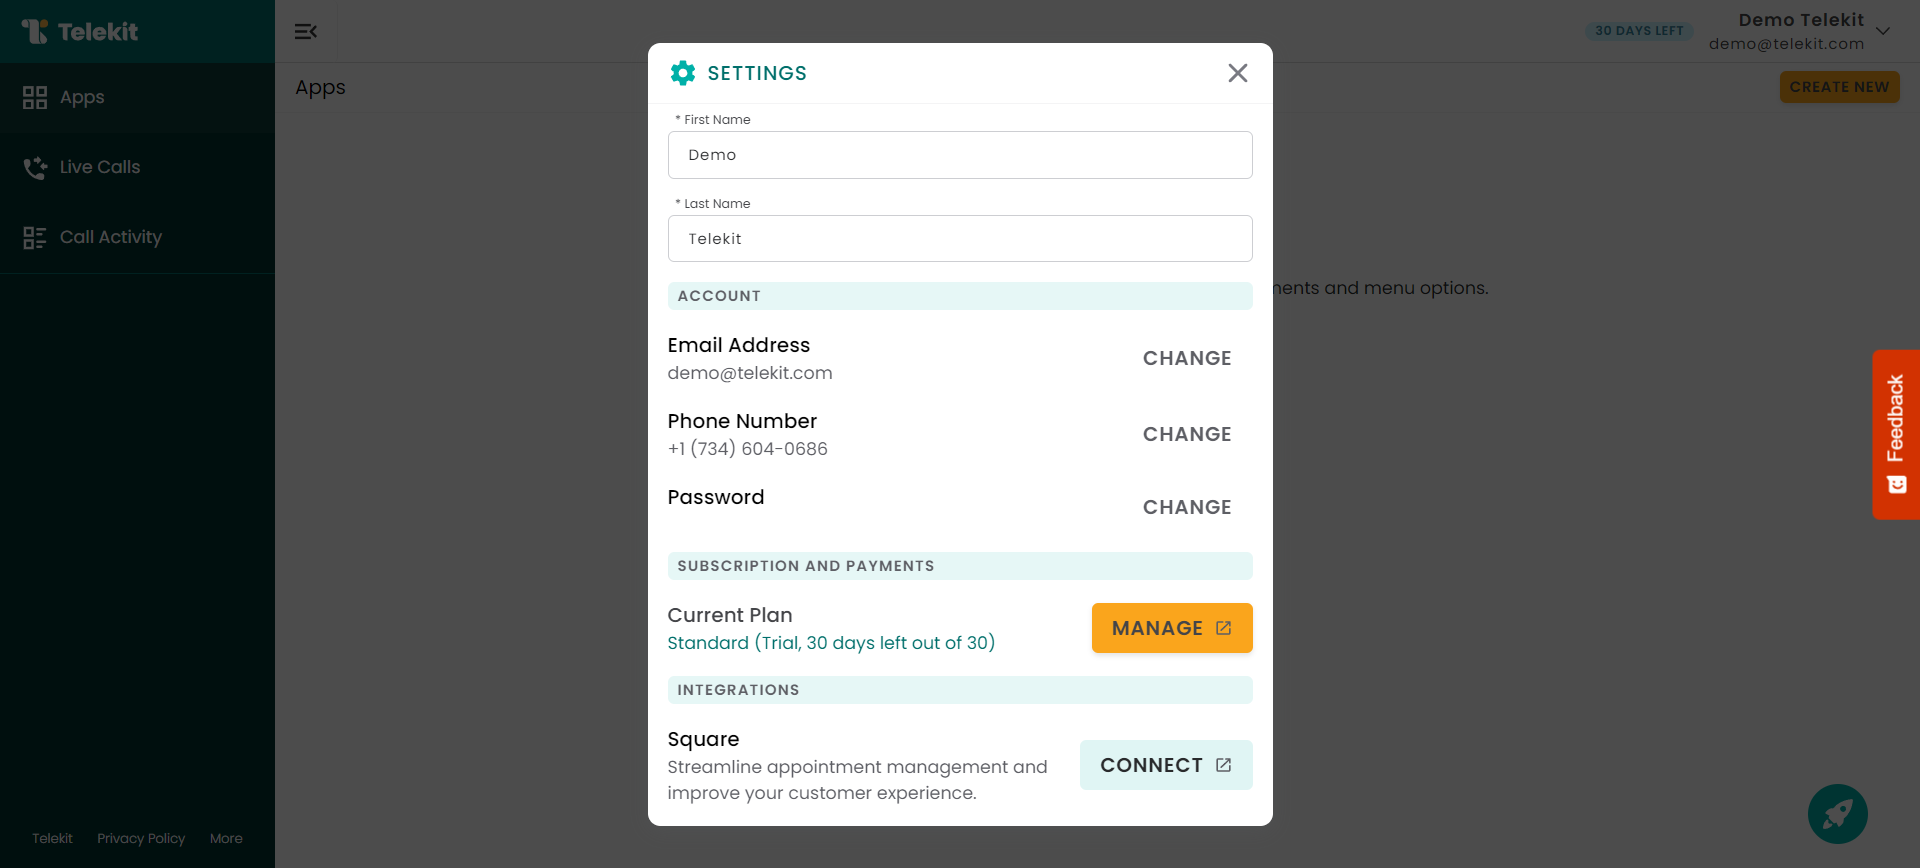
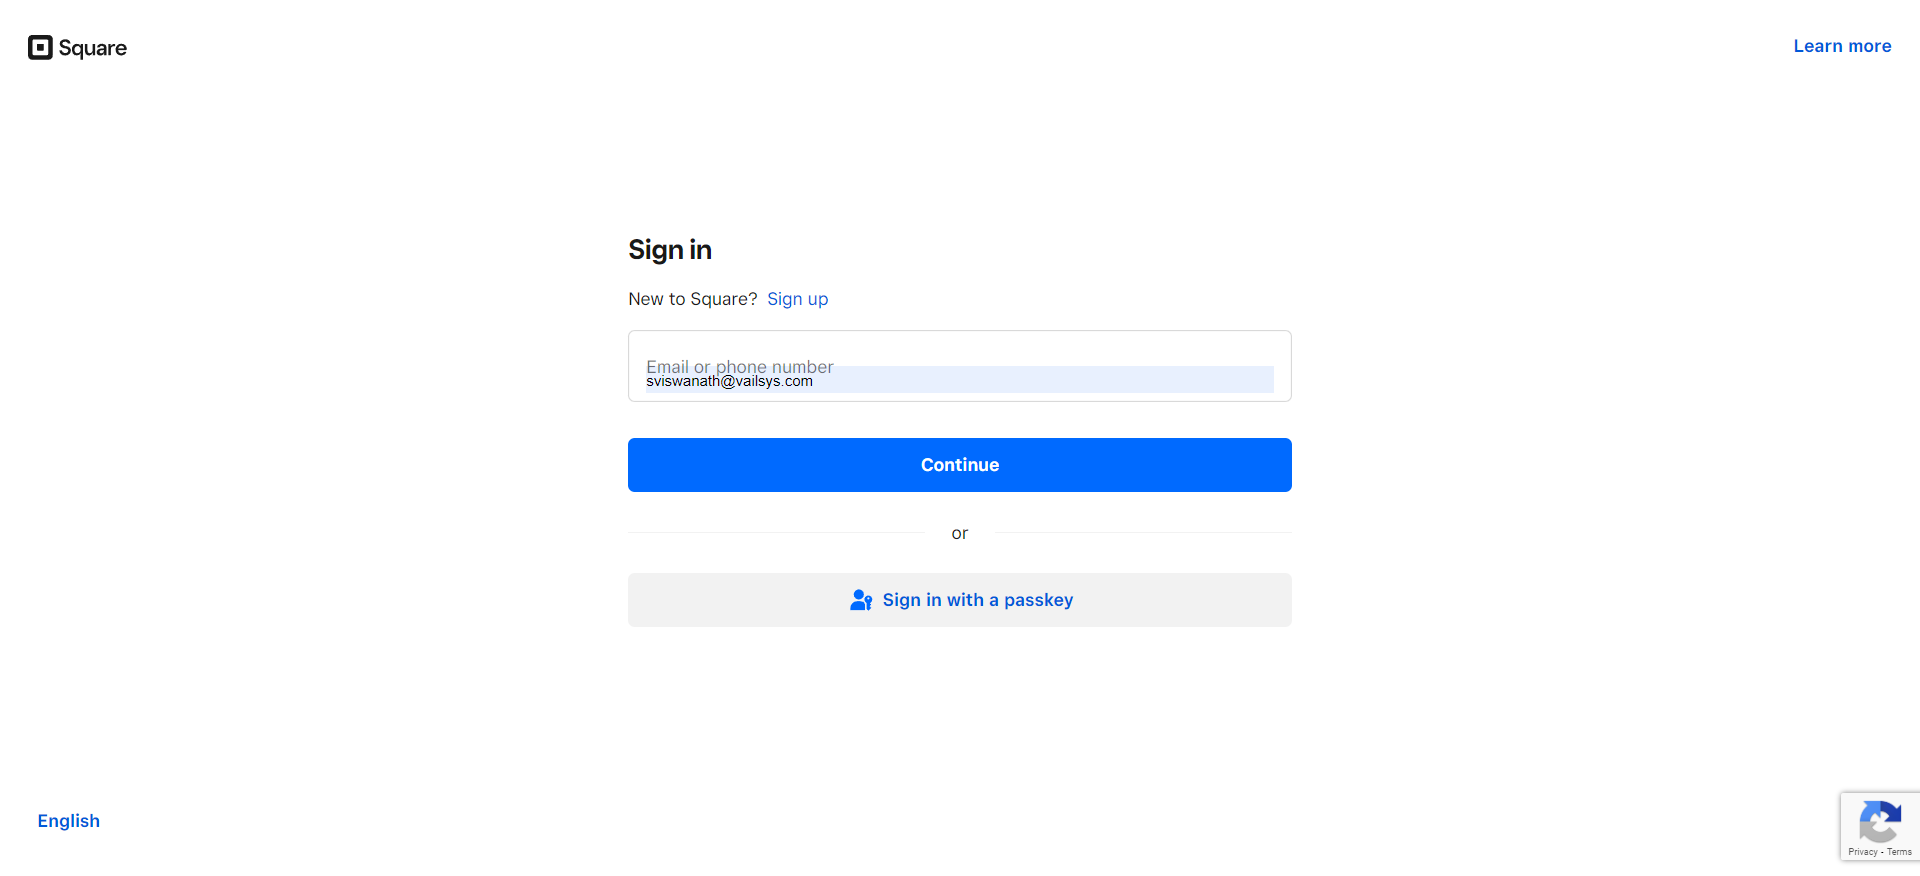
2. Sign into your Square account.
If you already have a Square account, sign into it using your credentials. A few things to keep in mind-
- After creating an account on Square, you have to also subscribe to a Free, Plus, or Premium plan.
- If you have a Free plan, then your callers will have access to retrieve appointment functionality.
- If you have the Plus or Premium plan, then your callers will also be able to cancel their appointments over the phone.
3. Allow Telekit to access your business & customer data
Telekit will need access your customer, appointment and service information to provide personalized customer service experience.
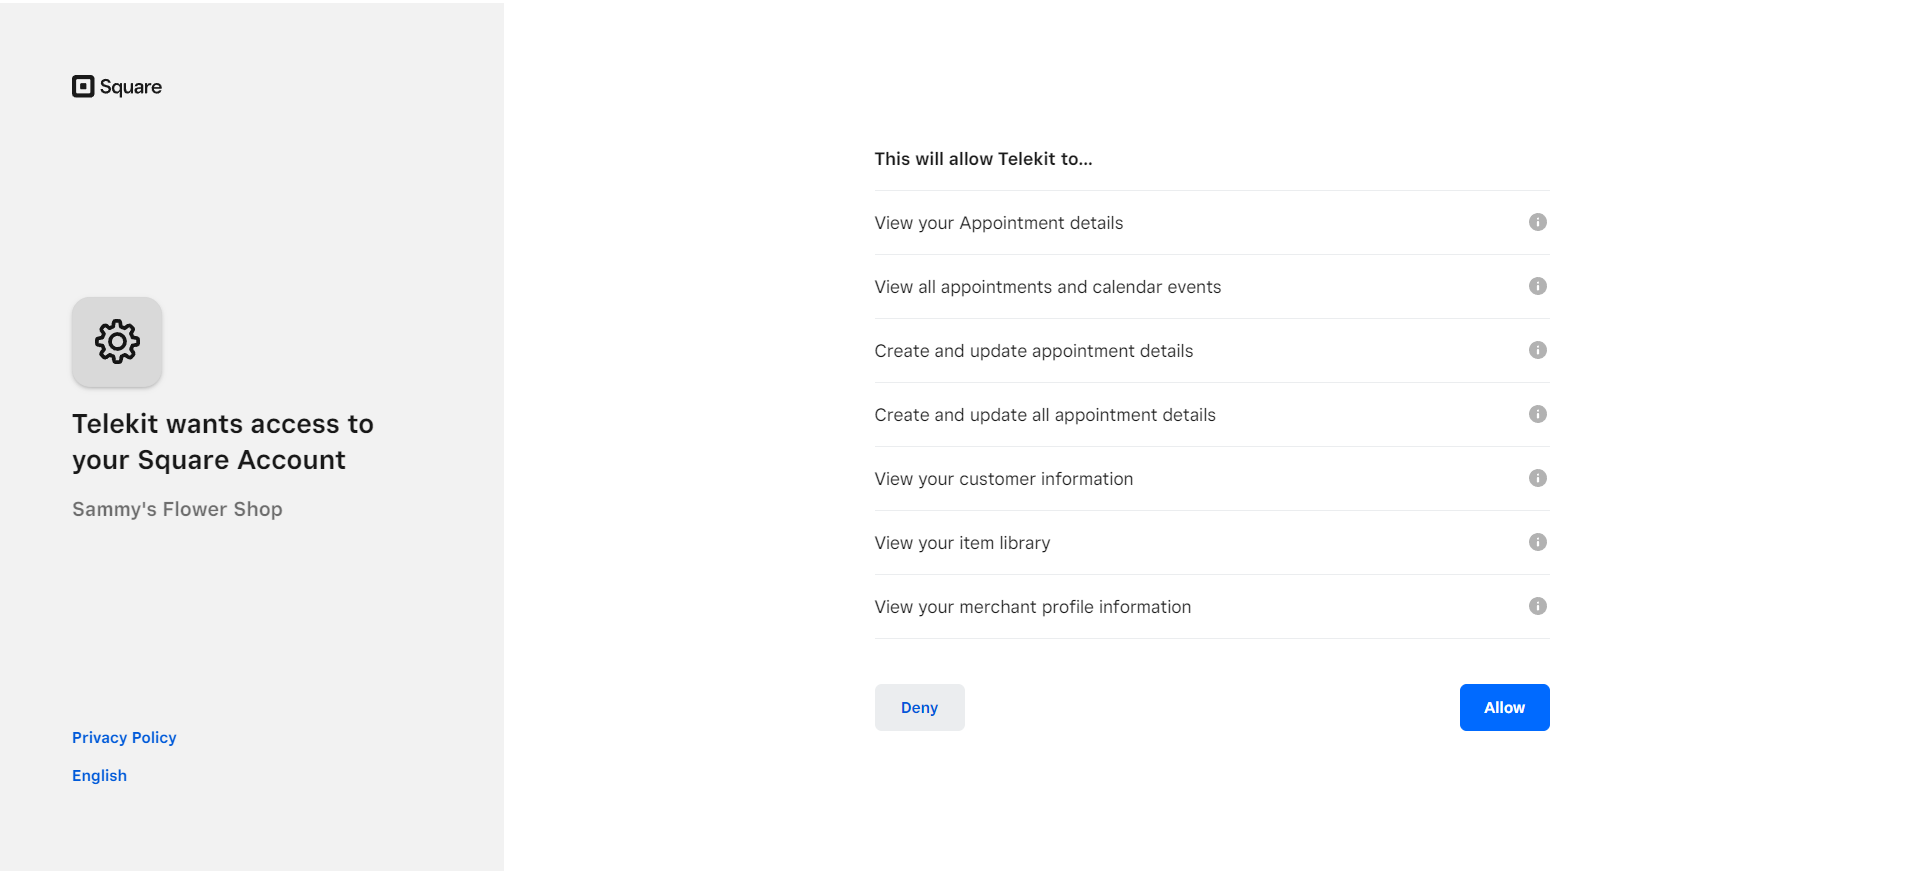
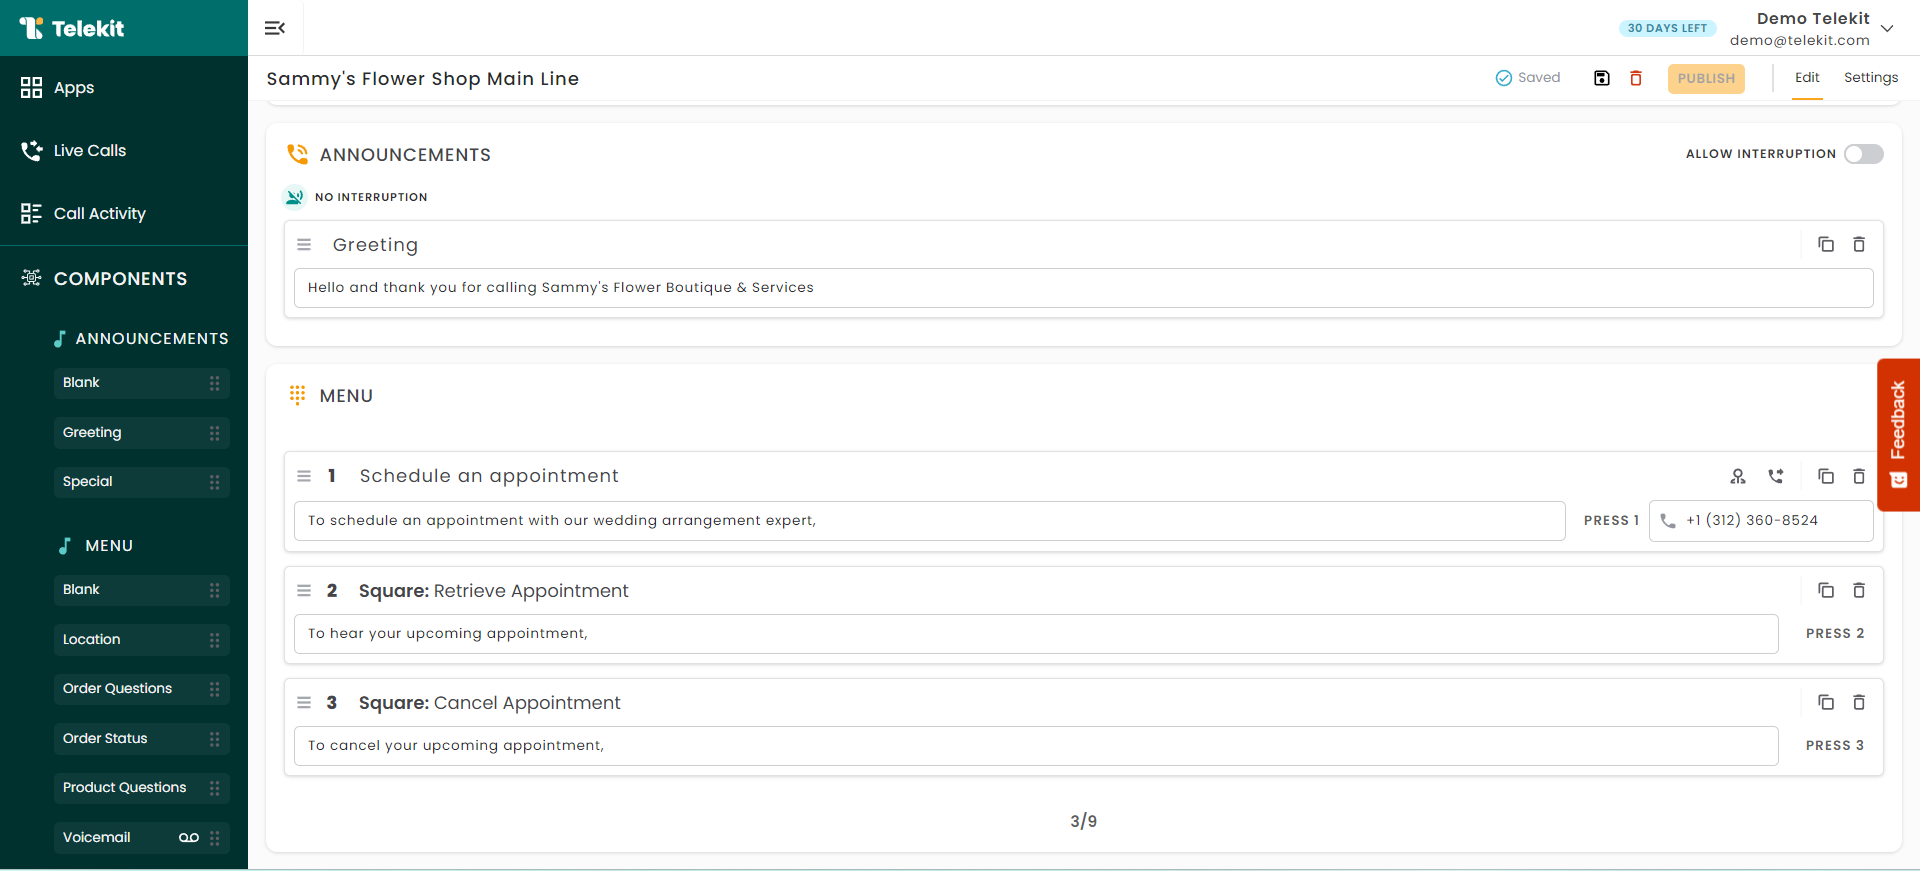
Once you choose Allow. You will be redirected to Telekit's Dashboard and see a success message. You'll be able to build your application with Square menu options.
Disconnecting from Square
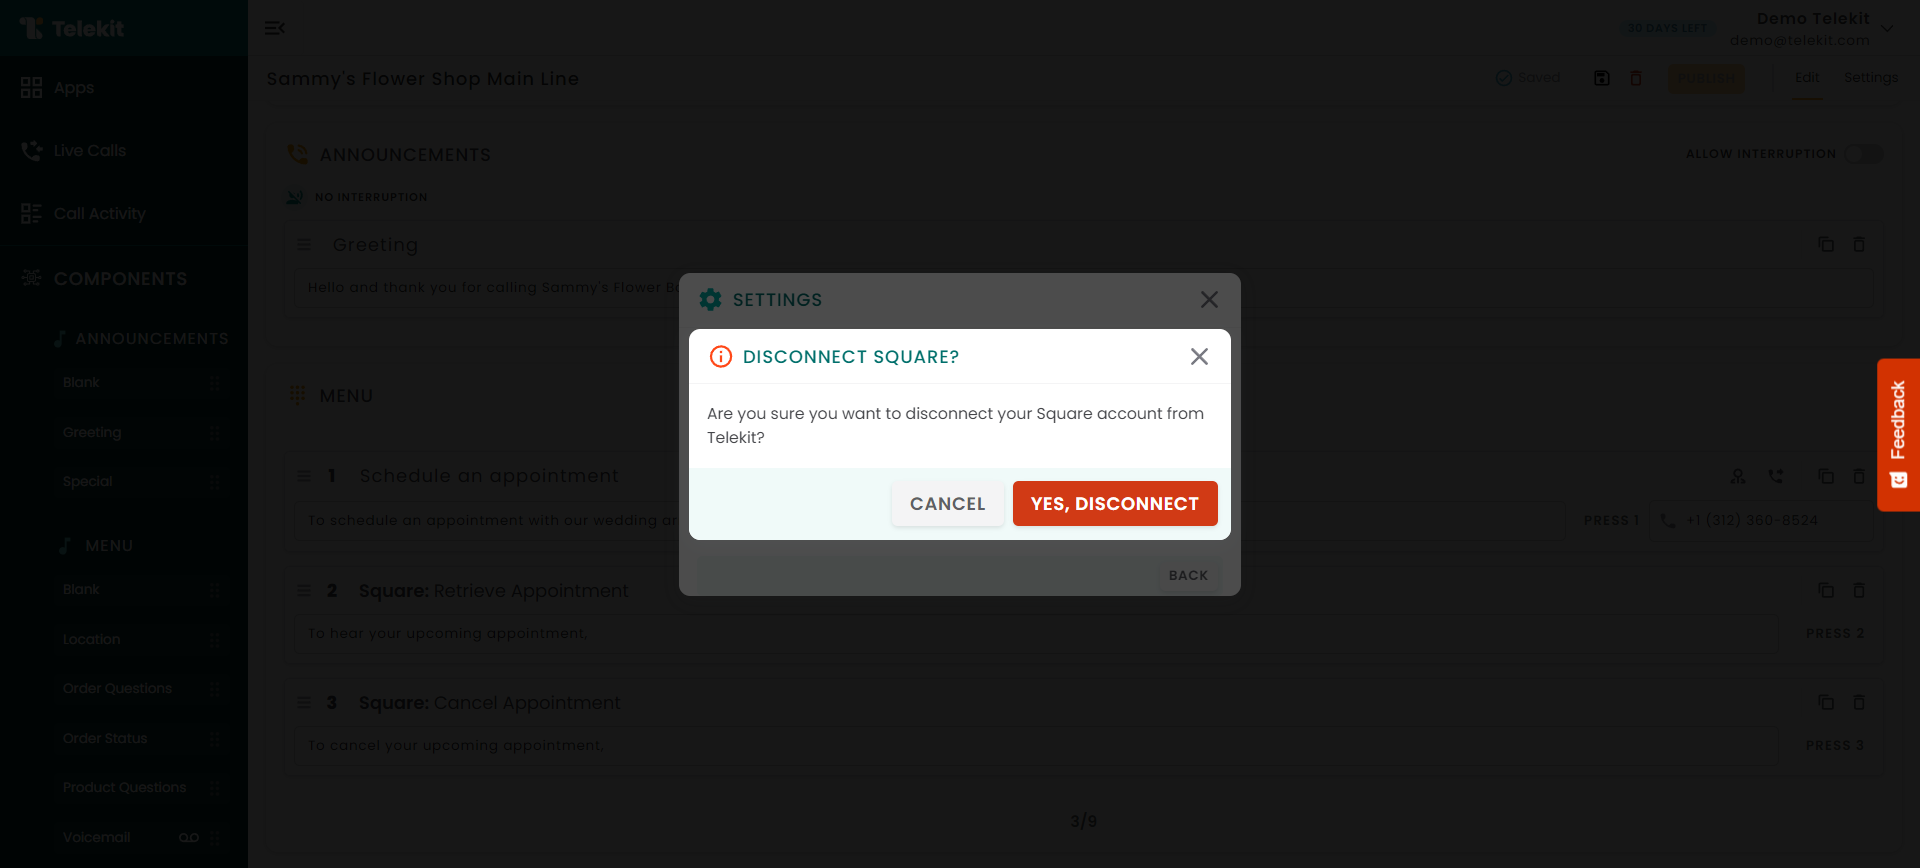
If you wish to disconnect Telekit from Square, go to Settings and select Manage. You'll see the option to Disconnect. Once you select it, you'll see a success confirmation. You can always choose to reconnect any time from the Settings modal.
And you are all set! to use Learn more about how to leverage Telekit's enhanced features here.


